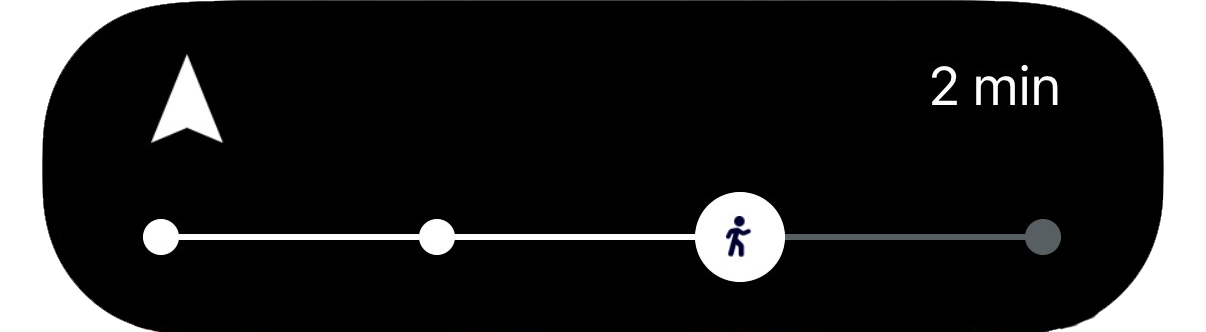
Source code
GitHub RepoLanguages used
- Swift
- SwiftUI
Features used
Steps
1
Add Widget Extension
In Xcode go to 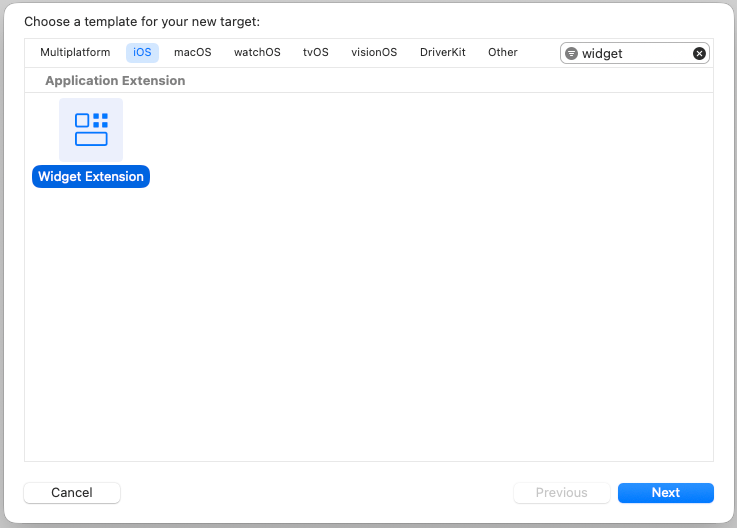
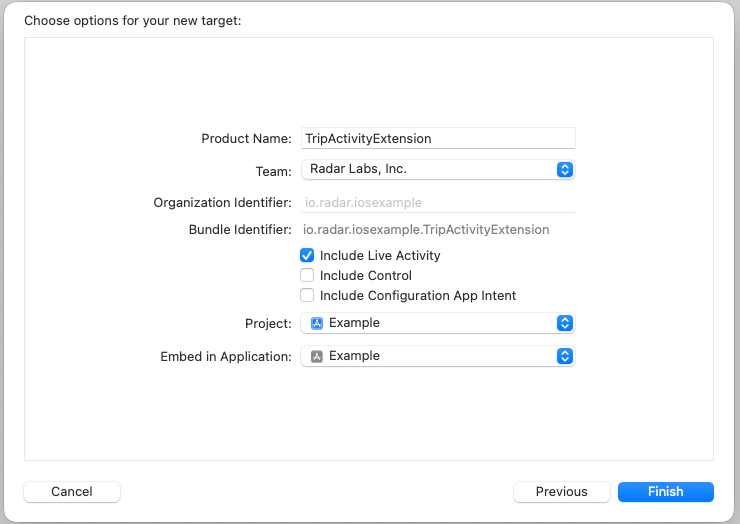
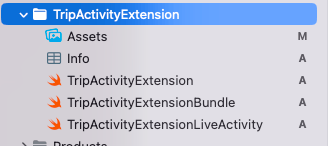
File -> New -> Target and search for widget:TripActivityExtension and press Finish:TripActivityExtensionLiveActivity file.2
Add app entitlements
Add 
Supports Live Activities and Supports Live Activities Frequent Updates to the info.plist of your main app:3
Create trip activity manager
In your app target, create a
TripLiveActivityManager.swift and define a TripLiveActivityManager class. This is where all of the logic for updating our live activity will live so create a shared instance and add the variables defined below:4
Add activity handlers
There are three public methods we will use from the
TripLiveActivityManager to handle starting the live activity, updating it when a user’s location is updated, and ending it when the trip is completed. Let’s add those.5
Create private methods for TripActivityManager
Add the private methods to
TripActivityManager for creating the activity, building the content state (the data to be displayed in our live activity), and fetching the destination address with the help of Radar.reverseGeocode().6
Add String Extension
Finally, add a
String extension to truncate the destination address for display purposes.7
Handle Live Activity
Now that we have our activity manager, we can create the logic for handling our Live Activity. in your app’s
AppDelegate, add the following function:8
Add RadarDelegate functions
All that is left for us to do in the app is to hook into the and add the delegate methods below in
RadarDelegate to listen for location updates and Radar events. First, in applicationDidFinishLaunchingWithOptions set the delegate after Radar.initialize():AppDelegate:9
Build Live Activity views
We now have all of the Live Activity and Radar SDK handlers we need to create and update a Live Activity based on Radar Trip data. All we need to do from here is create the SwiftUI views and helper functions in our 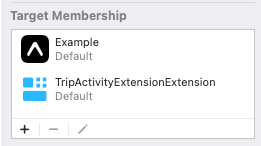
TripActivityExtension to display active trip data. This example includes various assets and design choices you may want to change but for the sake of this tutorial the TripActivityExtension file structure is as follows:Make sure the
Target Membership for these files includes your app and the extension10
Create LockScreenView
Add
Views/LockScreenView.swift11
Create ModeImageView
Add
Views/ModeImageView.swift12
Create ProgressBar
Add
Views/ProgressBar.swift13
Create RadarArrowImage
Add
Views/RadarArrowImage.swift14
Create TripColors
Add
Helpers/TripColors.swift15
Create TripFormatters
Add
Helpers/TripFormatters.swift16
Add UIColor extension
Add
Extensions/UIColor+Hex.swift17
Download Assets
The assets used in this example Live Activity can be downloaded here. Add them to
TripActivityExtension/Assets.18
Update Main View
Update We now have a fully functional Live Activity that updates based on Radar Trips data on a user’s lock screen and Dynamic Island!
TripActivityExtensionLiveActivity.swift to use the new views.19
Create a Geofence
With our Live Activity set up, the last thing we need to do is start a trip. If you don’t have any geofences in your Radar project, you will need to add one. For this example I have created the geofence with the identifier 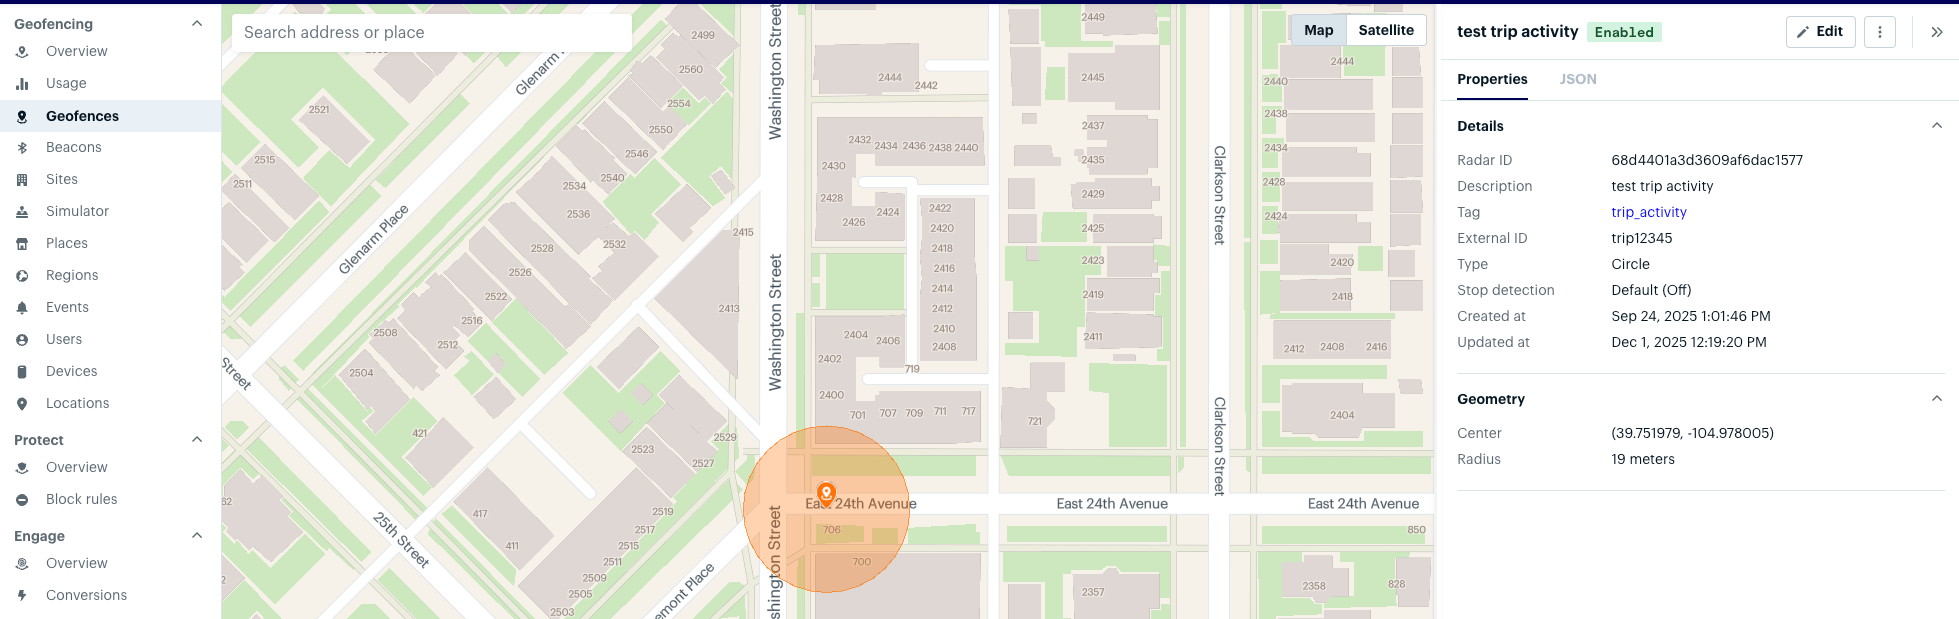
trip12345, shown below:20
Start a trip
In order to test your new Live Activity, call
Radar.startTrip with a destinationGeofenceTag and destinationGeofenceExternalId that match the Geofence in your Radar project. You can also include any additional RadarTripOptions you need. See the example below for reference:Conclusion
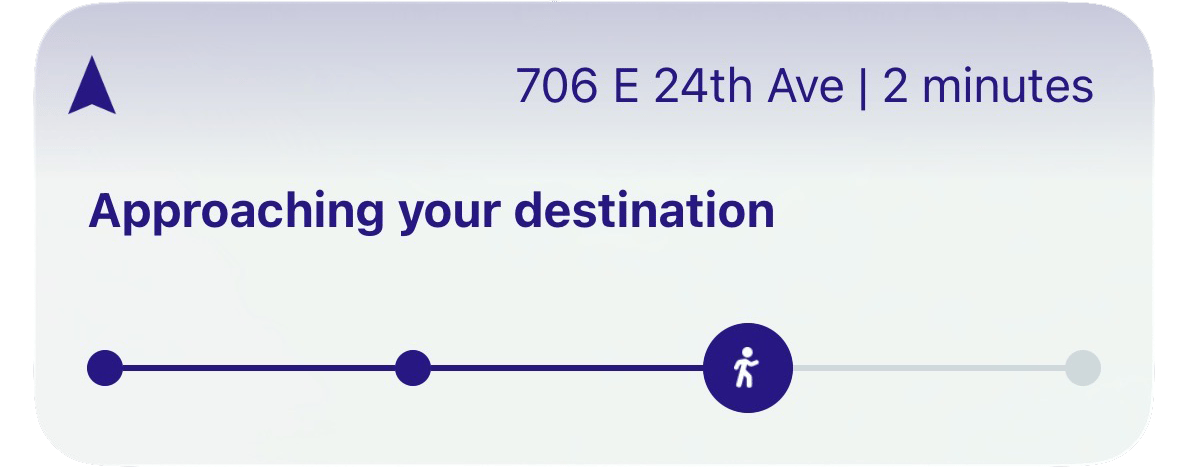
Congratulations on finishing the tutorial! Once you have started a trip, you should see your Live Activity on your lock screen and in your dynamic island. Lock Screen